Workshop
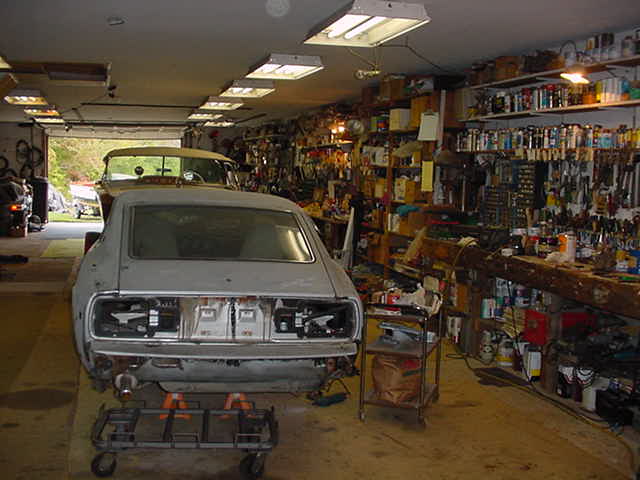
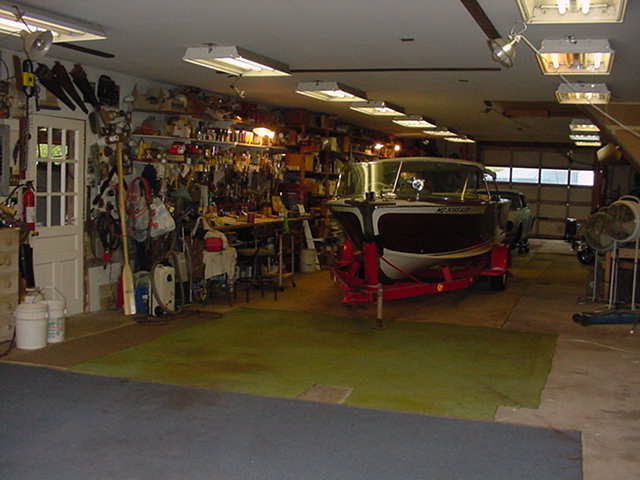
Old Time World includes three workshops. This 25’x 80’ building is temperature controlled and includes 3 of almost every tool made. A large selection of hardware of all kinds is available so any job can be quickly accomplished. More than 300 cars and a similar number of boats and antique furniture have been restored to perfection here.
It is rare to find this space open as the shop is always busy. We try to teach our customers all about every step of their restoration. All our visitors are amazed at the tremendous variety of tools and their neat arrangement. Upstairs is a large storage facility with a huge variety of marine equipment of all types just waiting to be used and a wood shop for making parts for boats.
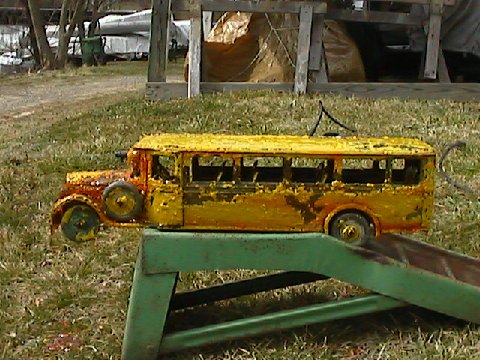
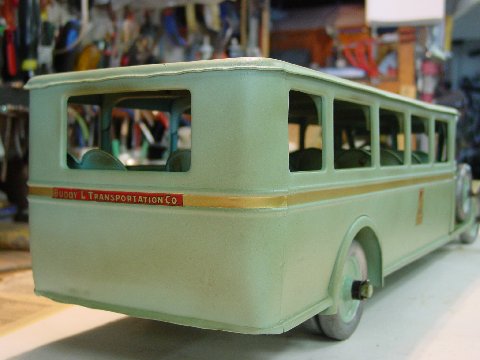
Buddy-L Bus Restoration
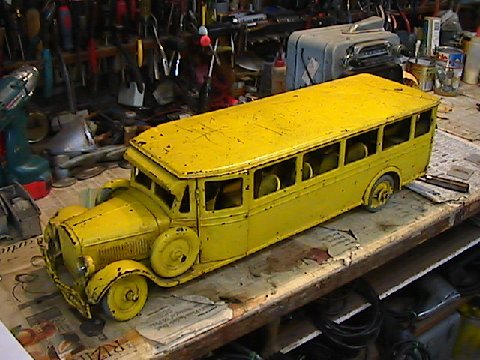
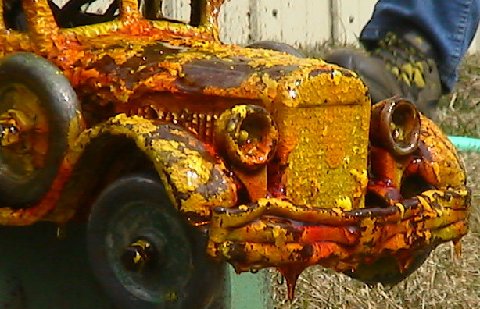
The Buddy-L Bus came to us with a thick layer ugly yellow paint.
We submerged it under Soy Strip paint remover, – overnight.

Additional applications made, until all paint is falling off.
Once soft everywhere, cleaning began.
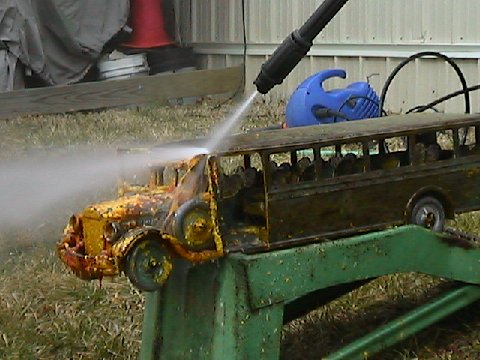
The low pressure washer cleans all the nooks and crannies.
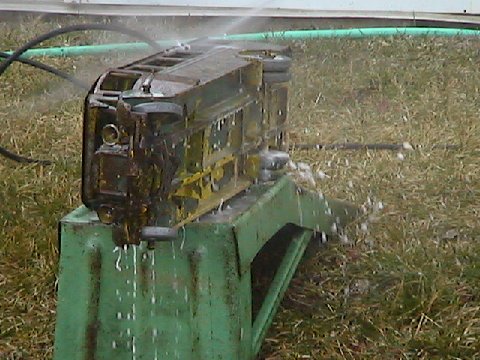
Washing from all angles, soaks the operator.
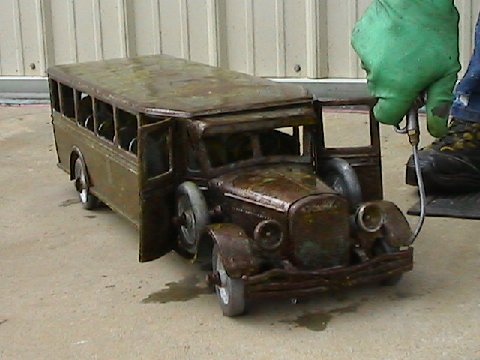
After a thorough cleaning, it was straightened and primed with Epoxy primer.
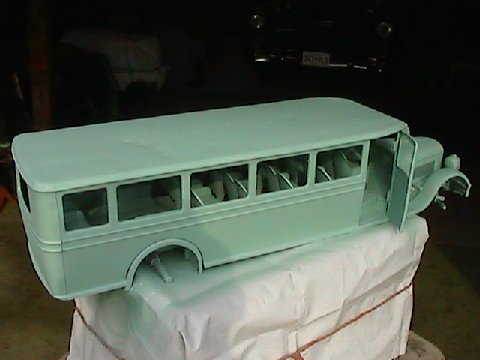
Then the carefully researched, top coat color, sprayed on.
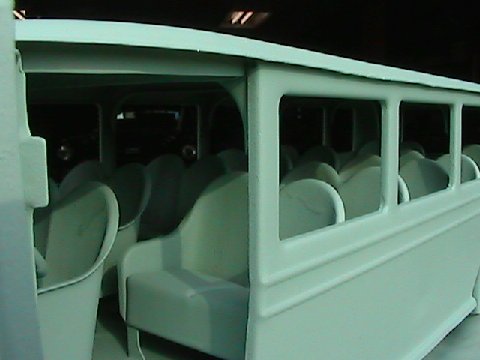
A special, tiny spray gun was used to get superior coverage.
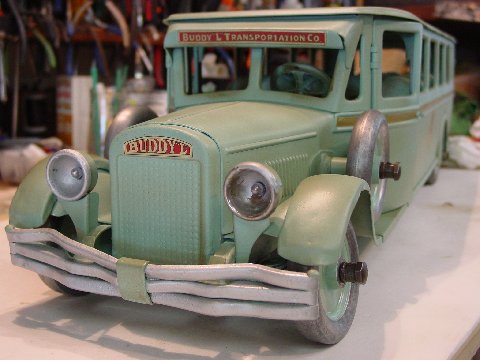
Then a satin varnish with brown toner, applied, to give the old look.

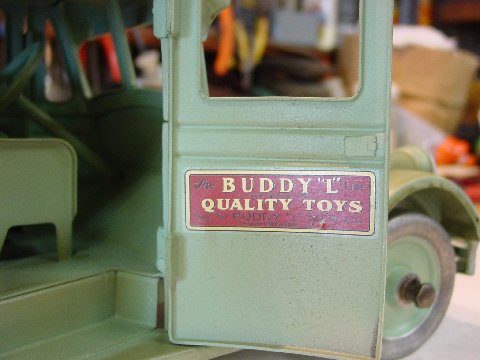
The owner sent the reproduction decals. Steering and wheels oiled.
Years of wear still show.
Gas Tank Restoration
Gas Tank Restoration
So you have a filthy rusty gas tank and you want to use it. Many people say throw it away; nothing is more obnoxious and dangerous than gas tank restoration. It ranks right up or down there with septic tank work. I have been astounded at the degree of vile filth that can grow inside an abandoned tank. Every deterioration situation is different so the quality of varnish(not the finishing kind) and oxide varies. Gasoline apparently breaks down both by fungus and bacteria. When any tank is allowed to sit with old gas for three years, it begins to rot and stink. To improve our air quality, the EPA has had the Petroleum Companies remove the stabilizers, which were poisons and were burned, now gasoline rots in 6 months. Today everything must be run dry before being put away. Over and over I come along and find my mower or chain saw with bad gas and now the carburetor needs cleaning.
Rusting of the interior of the gas tank can act as a catalyst and speeds up the fuel breakdown rate. Rust causes problems of its own. An unlimited supply of fine rust can quickly ruin a new fuel filter. So all the inside of the tank must be completely clean. Steam cleaning works. If you have a local radiator or truck repair place that will steam out a tank, searching the Yellow Pages and calling around may turn up a solution.
Depending on the size of the tank I first spray the strongest cleaner I have into it while wearing rubber gloves and a mask. I collect gravel between 1/2″and 3/4″ in size and put in a good handful. Then I shake the tank a lot. The neighbors love this, I put on hearing protectors. Keep doing it much longer than you can stand. Use the garden hose to rinse out. Many tanks are difficult to drain completely and have to be sucked clean with a snout on a wet dry vac. I cut up a transmission fill funnel and use it as an adapter along with some stiff plastic tubing. Usually it takes several efforts to get the tank completely clean. I like marine bilge cleaner because it softens the stuff without being flammable. I use acetone for the next rinse.
I have had good luck with carburetor cleaner as well. Dump the waste on an old trash carpet, let it dry and roll it up and put it in the garbage. Many of the stones will come out with the waste or in the consecutive rinsings. If not, suck them up with your wet dry vac probe. Next dry the tank by placing it in the sun or running a reversed vacuum hose into it for an hour.
Most old Electrolux vacs allow you to put the hose in the exhaust and blow.
Once dry more loose particles will falloff a complete blasting with compressed air helps dislodge them. Greater blasting power can be obtained by putting both the blow end of the vac in one hole and the compressed air in the other. You can make a long snout for the air gun with brake line tubing. I put a sharp 90 degree curve near the end, it gets the air right to the surface. Make an inspection light by putting a long wire on a dashboard light socket with clips for a 12v battery. In a pinch a battery charger can be a power source. Vice Grips and spring clamps can hold a wire on a battery. You will be amazed how well you can see inside the tank, particularly if you wait until night to inspect. If you don’t have to work on it further, spray Ospho brand rust converter on as many surfaces as you can reach. Add extra and roll it around, coating the hidden areas. If you used too much it will be slow to dry and leave puddles. I have sucked Ospho up with the vac, but I washed it out right away and wore gloves (always) and activated charcoal respirator. The Ospho does a great job and keeps the inside stable. Many tanks are made of bare steel. When filled with gas very little rusting takes place, its when they are allowed to sit empty and collect condensation or the fuel is allowed to rot that they rust. Good luck to you and your new machine!
Winter Restoration
Winter Restoration
By James B. Holler
Hurry Home is the name that was painted on the side of a 1947 Ventnor raceboat as a gift for a son who was fighting in Korea. He activily raced the boat for a few years and stored it away in a barn where I found it in 1984, in need of restoration. Weldon Ferguson and I worked on it together for a year before it was ready to show. The boat has made a big hit wherever I take it and it has been featured in photos, videos and a calendar. I have enjoyed running it at many fresh water lakes and Raceboat Regatta, `92 through `96. It was up at Clayton, NY. in `94 that Howard helped me repair my broken engine mount bolts. Since then I stored my boat at his place and have seen many beautiful projects completed in his workshop.
Time had taken its toll on the fine work that Weldon did. This boat has become part of the family, now, and it needed sprucing up. In January I talked it over with Howard and we decided we would work on the boat together 2 nights a week and Saturdays. He pulled it in and we took the engine out and removed all the hardware. Then we went to work removing the deck screws, for some reason they were coming loose and poping up. We removed almost all the screws and lifted up the decks and put 5200 on the frames and then rescrewed using new silicon bronze. After both deck sides were done I decided we had better do all the topsides too; in all we replaced 1,200 screws. We puttied all the holes with epoxy putty and faired everything with Interlux epoxy fairing compound. One night when we thought we were done, Howard turned off all the lights in the shop and using a single 40 watt droplight we looked the boat over with the light at a low angle. I marked the high and low spots with chalk. When we were done, the boat was covered with marks!
The decks are only 1/4″ plywood and many places had hairline cracks which we filled with a Petit primer made for gelcoat cracks. The aircraft cloth tail needed special attention on hundreds of cracks, all painted with a tiny brush. Weeks later we were ready to prime the whole boat. Howard chose to use the Petit Polyester Primer. The boat was smooth as silk but all the red paint spots bled right through! We then bought Dupont Uro Activated Urethane Primer, two coats and it looked completely different and perfectly smooth. The first Dupont Centari topcoat color took us all day to apply. Four coats on an 18 ft. boat is a lot of painting! While she was drying we disassembled the engine and prepared all the parts for painting, black or red. We polished all the brass and clear coated with automotive 2 part urethane.
Three weeks later we worked several evenings taping the red trim on the boat. It was a shock when we first sprayed the rich liquid red over the beautiful antique white. But round and round we went, Howard spraying and me handling hoses. Later that day when we pulled off all that paper and tape she sat there shimmering in the sunlight and I knew that I could again be proud to show Hurry Home.
Now we are waiting for the sign painter to come paint on the name and that unforgettable eagle, on the deck. See you at the show!
